
How to do a beehive hairdo
The beehive or cocoon hairstyle first emerged and became popular in the 1960s. It adorned the heads of the most famous style icons of a bygone era – from Audrey Hepburn to Brigitte Bardot. Who knew back then that a tall beehive hairdo would eventually become one of the most recognizable vintage styles?
The beehive hairstyle – vintage and modern
However, the 60s-style beehive hairstyle doesn’t just argue with gravitas. Contrary to time, it remains relevant. Thanks to singer Adele and Amy Winehouse for this fashion revival. If you go to a club or concert today wearing a jacket and a beehive hairstyle, you’ll probably be the most fashionable!
Beehive hairstyle – how to make it yourself
Looking at the high beehive hairstyle, it is difficult to imagine that this design can be repeated by yourself at home in front of the mirror. But believe me! This is not such a difficult task and, with practice, you can cope with it in 20 minutes. To get started, check out how to do the beehive hairstyle in the video at the top of the page. Then scroll down and learn how to do the bee hive hairstyle step by step.
After you learn the basic technique, we suggest looking at other variations based on it. For example, the scheme for creating a half-unfurled beehive hairstyle with a photo or a hybrid of a shell hairstyle and a beehive hairstyle. All this with instructions and tips. So, if you’re ready to breathe new life into your beehive hairstyle, here we go.
However, it is necessary to know how to make a “cocoon” or “beehive” shape.
Styling options.
A good beehive hairstyle can be obtained by applying the right set foundation.
It doesn’t take long to get a beehive style. First, place all the necessary accessories within your reach including: hair clips, hairspray, and so on. Carefully divide all the hair from the forehead to the top of the head into 4 sections and secure them with a clip.
Comb a small part of the hair from the neck area to the top. Then, using a hair clip hold the hair up. After combing, smooth it out a bit to allow the “beehive” to form. To make the ends of the hair curl, use a hair spray. Once styled, spray it with hairspray.
You can do a classic beehive hairstyle using the following tips and tricks: start with a pony-tail setup, then isolate in small sections of pony-tails; then do small sections. Take the pony tails and lock in the other secondary pony tails, while having the secondary pony tails tighten them in the crown. When you have done this, repeat the entire process of getting the secondary pony tails. At the end of the step, you are supposed to do curling sections using a curling iron.
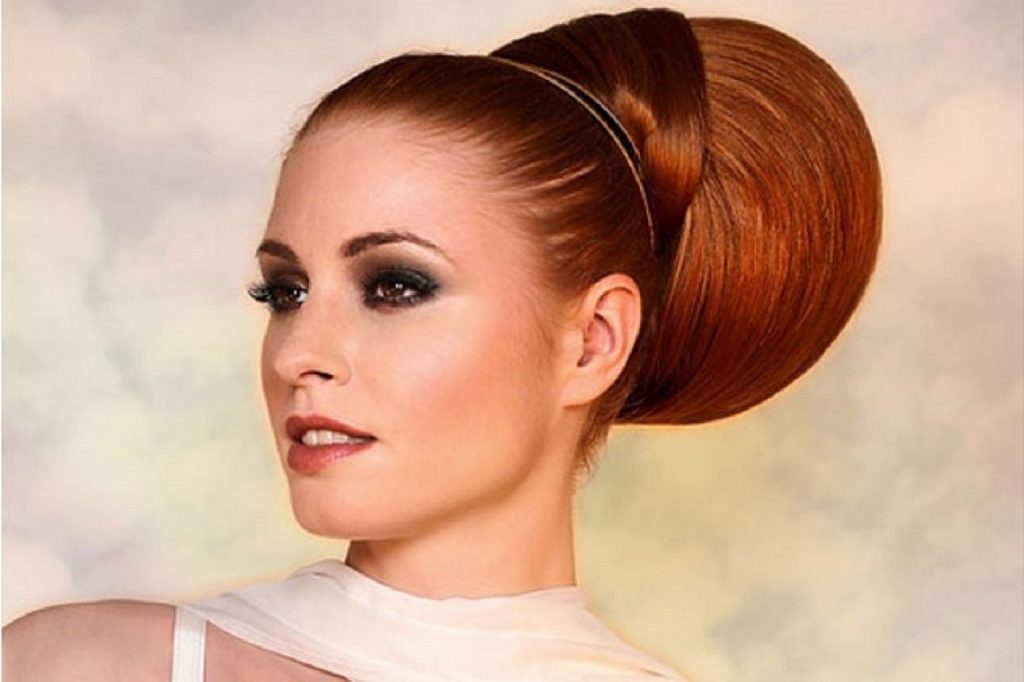
Modern variations
Modern variations look elegant and sophisticated without displaying exaggeration and have more of a top look. Here’s how you can add some height to your head, but don’t overdo it choose including thick hair hairstyles that will work well for both formal and casual occasions.
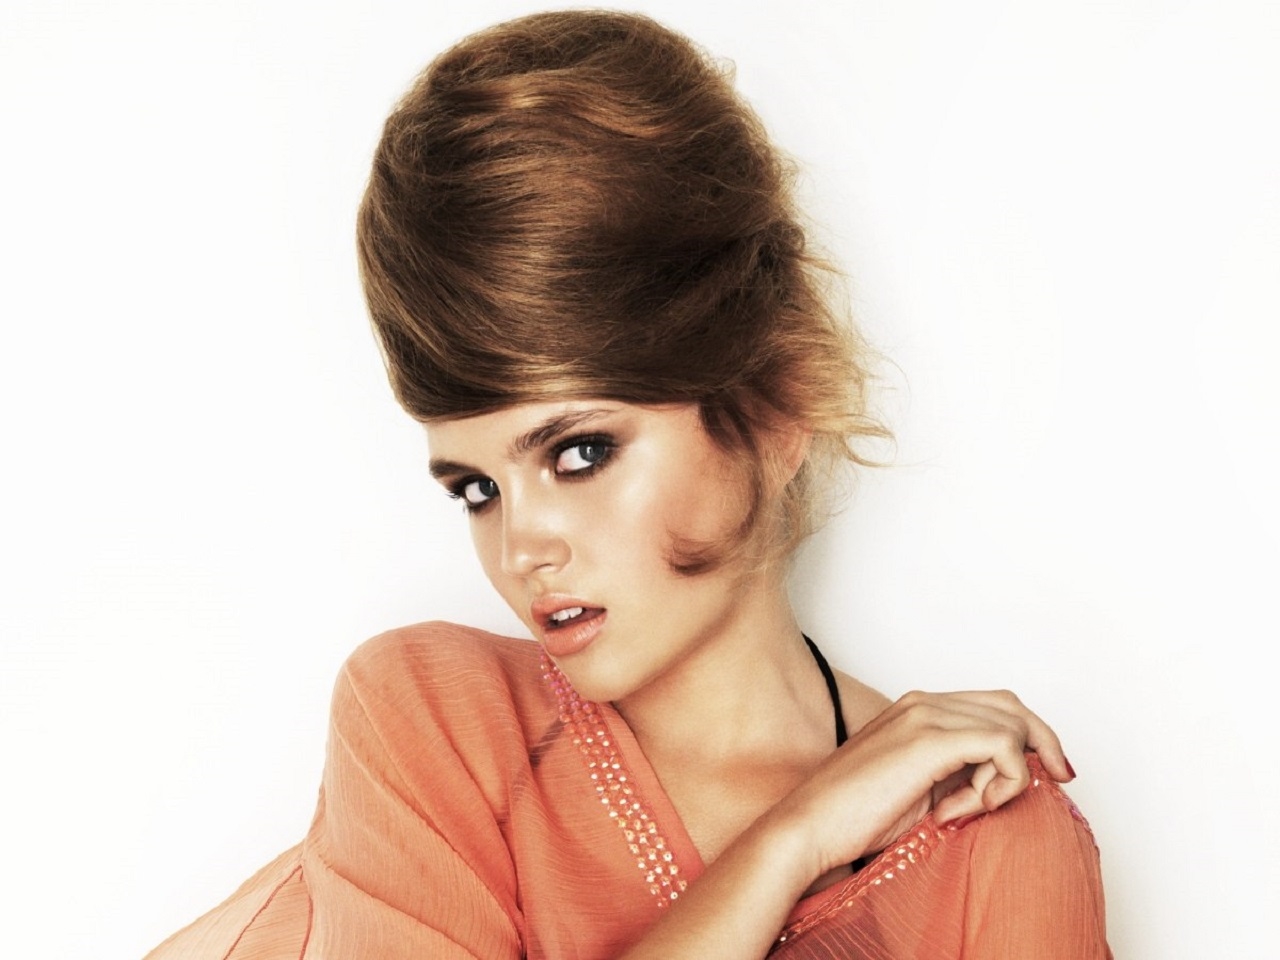
Partial beehive hairstyle
To soften the harshness of a beehive hairstyle, you can leave your loose hair falling over your shoulders, or maybe let the curls fall over an oval or angular face.
Sculpted bangs
Sculpted bangs as a wave, curls fall to the forehead, reaching to the cheek, or to the sides, then the whole shape can lead to an elegant beehive hairstyle look.
Using Accessories
If you want to add extra sparkle, try complementing your hairstyle with jewel or ribbon accessories. When the style is accented with a tiara, flowers or veil, it can be a great wedding hairstyle.
Combining styles
French twist and braids combined with a beehive hairstyle can do wonders to give a chic look. Just walk into the salon and get a sporty style hairstyle!
The beehive hairstyle is basically the classiest and easiest hairstyle you should try. What you need to know for it is that it is very easy to understand. Nevertheless, you can still choose a salon to get including from professionals if the directions are difficult for you to understand and perform.
Nevertheless, it is always cheaper and more tactful to learn the skills yourself and then do the whole process with the help of a friend.